This template is posted on bloganol on the
request of Signnetdollars for all the blogger users.This template is a professional type of blogger Template with two section column.
Demo | Download
The download Links has been removed on the request of the original wordpress theme designer.We will again publish the link here if the original theme designer give us permission to publish it here the in future.Sorry for your Inconvenience.
Features of this Template
- This Template is professional type of blogger Template with stylish look.
- This template has got auto related posts widget that show related posts automatically below each post.
- This template is Google adsense Optimized.
- This template consists of different slots for placing 125x125px banner ad.
- This template hasd got stylish Subscription widget.
- This template is two column designed.
- This template has got three section footer at the footer of the blog.
Template Customization1. Header menu<div class='bar'>
<ul>
<li><a expr:href='data:blog.homepageUrl'>Home</a></li>
<li><a href='http://www.bloganol.com/' title='About'>About</a></li>
<li><a href='http://www.bloganol.com/' title='Contact us'>Contact us</a></li>
<li><a href='http://www.bloganol.com/' title='Privacy policy'>Privacy Policy</a></li>
</ul>
<form action='\search\' id='searchform' method='get' name='searchform'>
<fieldset>
<input class='text' id='s' name='s' type='text' value=''/>
</fieldset>
</form> </div>
2. Header ad<div class='ad'>
<a href='http://www.bloganol.com'><img src='http://www.ultimatebloggingtheme.com/img/ad-header.jpg'/></a>
</div>
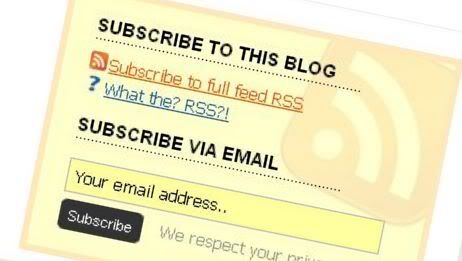
3. Subscription box at Top
<div class='third'>
<h2>Subscribe to this blog</h2>
<a class='rss' href='http://feeds2.feedburner.com/bloganol' rel='nofollow'>Subscribe to full feed RSS</a><br/>
<a class='what' href='http://'>What the? RSS?!</a>
<form action='http://www.feedburner.com/fb/a/emailverify' class='subscribeform' method='post' onsubmit='window.open('http://www.feedburner.com/fb/a/emailverifySubmit?feedId=problogging', 'popupwindow', 'scrollbars=yes,width=550,height=520'); return true;' target='popupwindow'>
<fieldset>
<h2>Subscribe Via Email</h2>
<input class='text' name='email' onblur='if (this.value == '') {this.value = 'Your email address..';}' onfocus='if (this.value == 'Your email address..') {this.value = '';}' type='text' value='Your email address..'/>
<input class='btn' type='submit' value='Subscribe'/>
<span class='privacy'>We respect your privacy.</span>
<input name='url' type='hidden' value='http://feeds.feedburner.com/~e?ffid=problogging'/>
<input name='title' type='hidden' value='http://www.bloganol.com'/>
<input name='loc' type='hidden' value='en_US'/>
<input class='submitButton' type='hidden' value=''/>
</fieldset>
</form> </div>
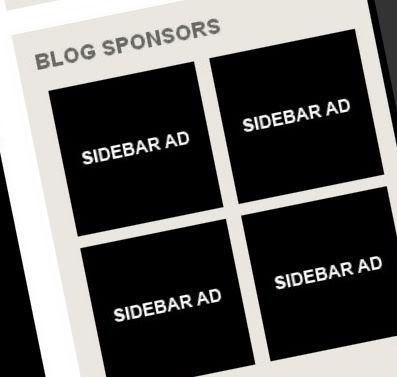
4. Blog Sponsors<div class="cfac_containe">
<div class="cfac_code_left"><a href="http://www.ultimatebloggingtheme.com"><img src="http://www.ultimatebloggingtheme.com/img/ad-sidebar.jpg"/></a></div>
<div class="cfac_code_right"><a href="http://www.ultimatebloggingtheme.com"><img src="http://www.ultimatebloggingtheme.com/img/ad-sidebar.jpg"/></a></div>
<div class="cfac_clear"></div></div>
5. Subscription box at Post Footer
<div class='subscribe'>
<h4>Subscribe to this blog</h4>
<a class='rss' href='http://feeds2.feedburner.com/problogging' rel='nofollow'>Subscribe to full feed RSS</a><br/>
<a class='what' href='http://'>What the? RSS?!</a>
<form action='http://www.feedburner.com/fb/a/emailverify' class='subscribeform' method='post' onsubmit='window.open('http://www.feedburner.com/fb/a/emailverifySubmit?feedId=problogging', 'popupwindow', 'scrollbars=yes,width=550,height=520'); return true;' target='popupwindow'>
<fieldset>
<h4>Subscribe Via Email</h4>
<input class='text' name='email' onblur='if (this.value == '') {this.value = 'Your email address..';}' onfocus='if (this.value == 'Your email address..') {this.value = '';}' type='text' value='Your email address..'/>
<input class='btn' type='submit' value='Subscribe'/>
<span class='privacy'>We respect your privacy.</span>
<input name='url' type='hidden' value='http://feeds.feedburner.com/~e?ffid=problogging'/>
<input name='title' type='hidden' value='http://www.bloganol.com'/>
<input name='loc' type='hidden' value='en_US'/>
<input class='submitButton' type='hidden' value=''/>
</fieldset>
</form> </div>
6. Middle Ad
<div class='ad'><a href='http://www.bloganol.com'><img src='http://www.ultimatebloggingtheme.com/img/ad-middle.jpg'/></a></div>
7. Footer ad<div class='ad'><a href='http://www.bloganol.com'><img src='http://www.ultimatebloggingtheme.com/img/ad-footer.jpg'/></a></div>
8. Related posts widgetThis widget is already fully customized.


